
Certificate Authentication
Certificate authentication is the only authentication type doctor supports. doctor does not come with an application of its own, so you need to create your own Azure Entra ID app registration and authenticate with its certificate. Follow the next steps before you start using doctor.
Create the Entra ID app registration
Section titled “Create the Entra ID app registration”- Go to your Azure Portal
- Open Microsoft Entra ID
- Click on App registrations
- Click on New registration
- Specify a name for your new Entra ID app
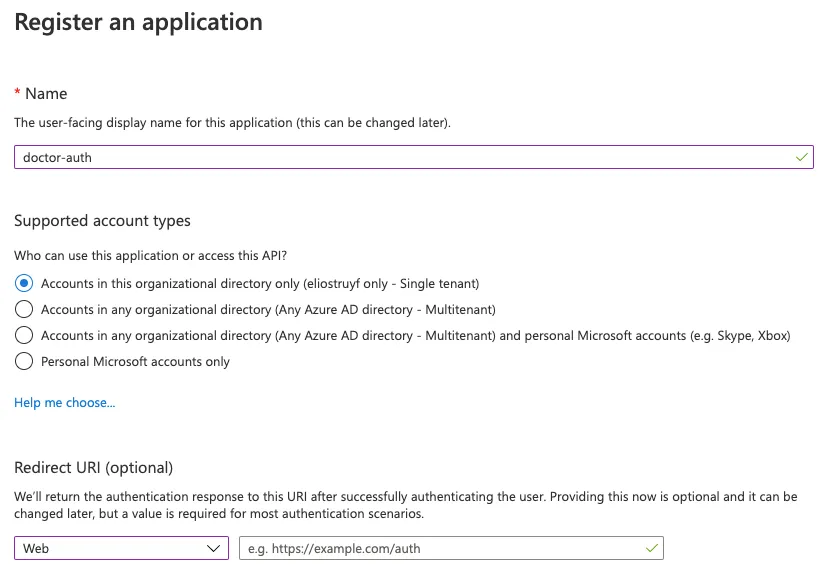
- Once the app is created, click on API Permissions and add the Sites.FullControl.All application permission scope from SharePoint
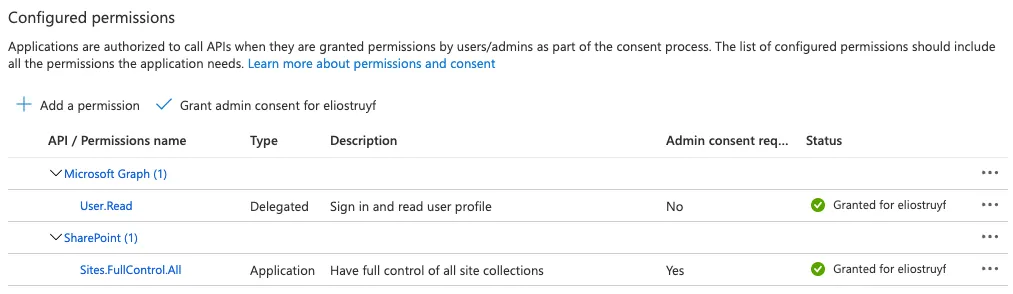
- Click on Grant admin consent for
, and accept
Create and upload the certificate
Section titled “Create and upload the certificate”- Open a command prompt, and run the following command in order to generate a certificate:
openssl req -x509 -newkey rsa:4096 -keyout key.pem -out cert.pem -days 366 -nodes
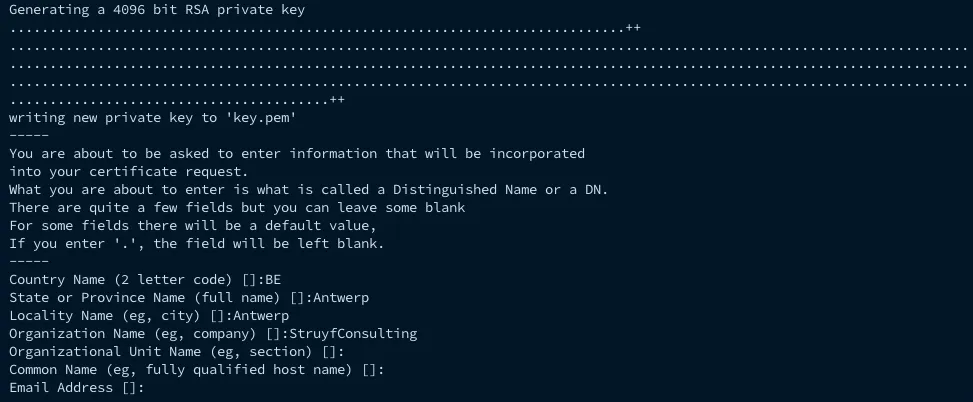
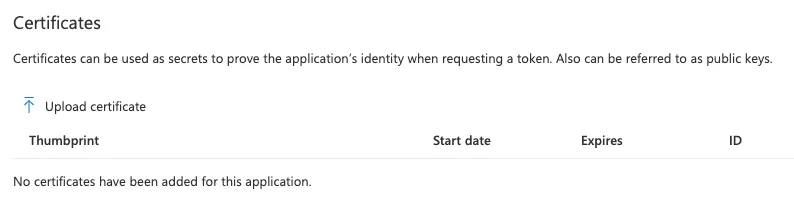
- Upload the cert.pem file to the Entra ID app under Certificates & secrets
- Converted the certificate into the
PKCSformat usingopenssl pkcs12 -export -out cert.pfx -inkey key.pem -in cert.pem- It will ask for a password. This is yours to pick. Be aware, if you specify a password, you will also need to pass it to the
doctorcommand with the--password <password>argument.
- It will ask for a password. This is yours to pick. Be aware, if you specify a password, you will also need to pass it to the
Use the certificate with doctor
Section titled “Use the certificate with doctor”Once you did the previous steps, you are ready to make use of the doctor tool. Pass the certificate with the --certificate <certificate> argument, which accepts the path to your certificate file, or its base64 encoded contents.
Using the path to the certificate file
Section titled “Using the path to the certificate file”Point the --certificate argument to your cert.pfx file. The path is relative to the folder from where you run doctor.
doctor publish --certificate ./cert.pfx --appId <appId> --tenant <tenant> --url <url>Next to .pfx, the .p12 and .pem extensions are supported as well.
Using the base64 encoded certificate
Section titled “Using the base64 encoded certificate”This is the easiest option to use in a CI/CD pipeline, as you can store the certificate as a secret.
- Get the
base64string from thepfxfile. Execute:cat cert.pfx | base64 - Use the
Base64output as the input for the--certificate <certificate>argument.
doctor publish --certificate <base64String> --appId <appId> --tenant <tenant> --url <url>