If you want to use certificate authentication, you will need to follow the next steps before you can use doctor.
- Go to your Azure Portal
- Open your Azure Active Directory
- Click on App registrations
- Click on New registration
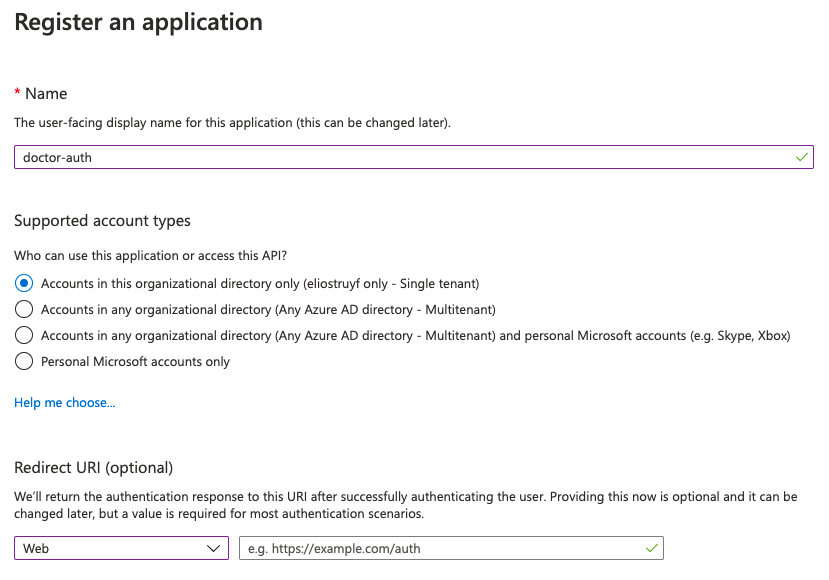
- Specify a name for your new Azure AD app
- Once the app is created, click on API Permissions and add the Sites.FullControl.All application permission scope from SharePoint
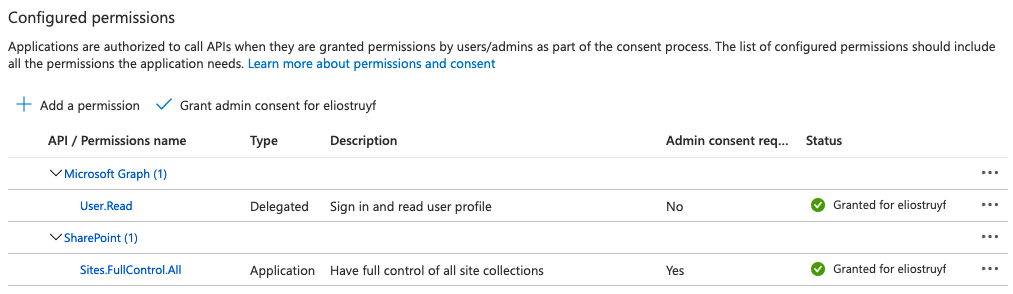
- Click on Grant admin consent for
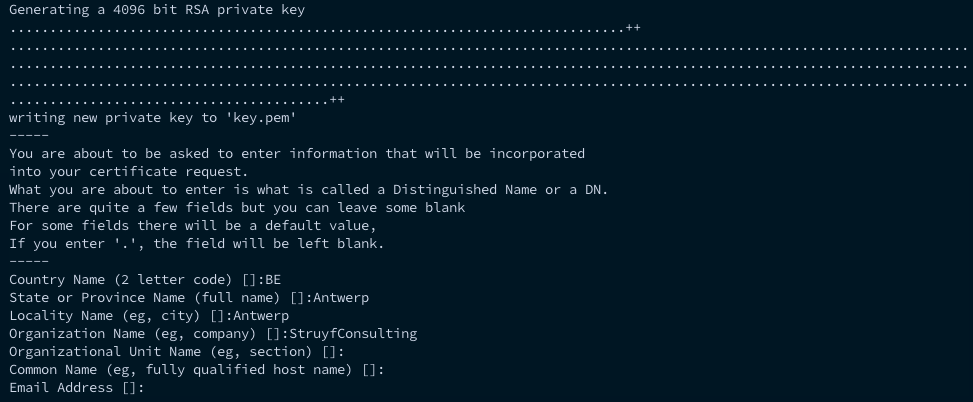
, and accept - Open a command prompt, and run the following command in order to generate a certificate:
openssl req -x509 -newkey rsa:4096 -keyout key.pem -out cert.pem -days 366 -nodes
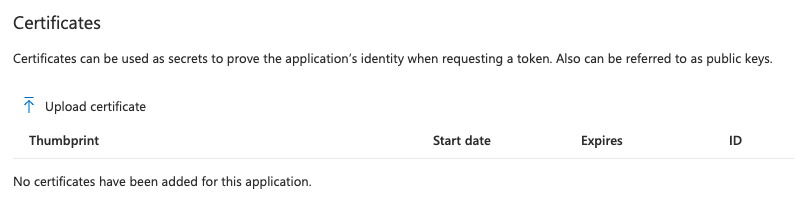
- Upload the cert.pem file to the Azure AD App under Certificates & secrets
-
Converted the certificate into the
PKCSformat usingopenssl pkcs12 -export -out cert.pfx -inkey key.pem -in cert.pem- It will ask for a password. This is yours to pick. Be aware, if you specify a password, you will also need to pass it to the
doctorcommand with the--password <password>argument.
- It will ask for a password. This is yours to pick. Be aware, if you specify a password, you will also need to pass it to the
-
Get the
base64string from thepfxfile. Execute:cat cert.pfx | base64- Use the
Base64output as the input for the--certificateBase64Encoded <certificateBase64Encoded>argument.
- Use the
Once you did the previous steps, you are ready to make use of the doctor tool. You can run doctor with the certificate authentication as follows: doctor publish --auth certificate --certificateBase64Encoded <certificateBase64Encoded> --appId <appId> --tenant <tenant> --url <url>.
Info: You can also store these
certificateBase64Encoded,appId, andtenantsettings in thedoctor.jsonfile. More information can be found under the doctor.json section.